If you’re interested in taking stunning photos of the night sky or observing celestial objects, using a filter on your telescope is a must. Filters can enhance the contrast of the objects you’re observing, reduce glare, and improve the clarity of the images you capture. However, many amateur astronomers and astrophotographers might not know how to properly attach a filter to their telescope. In this article, we will explain how to put a filter on a telescope.
Step 1: Determine the Type of Filter You Need
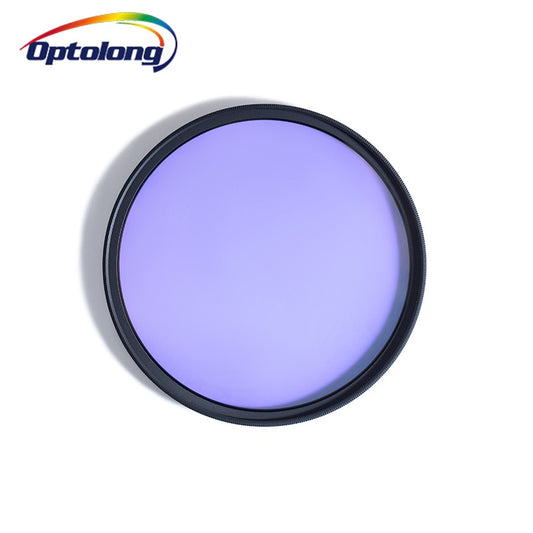
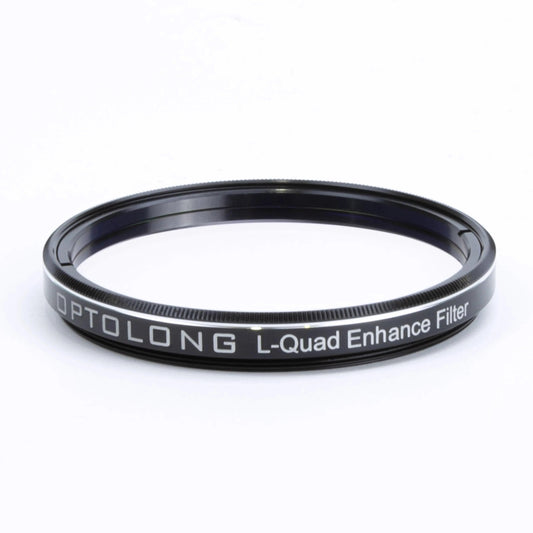
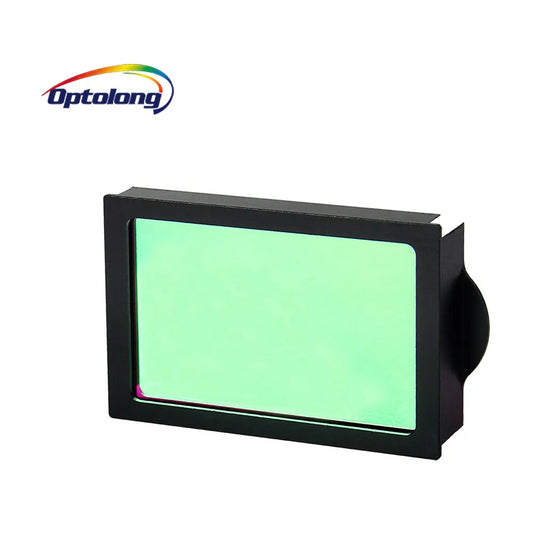
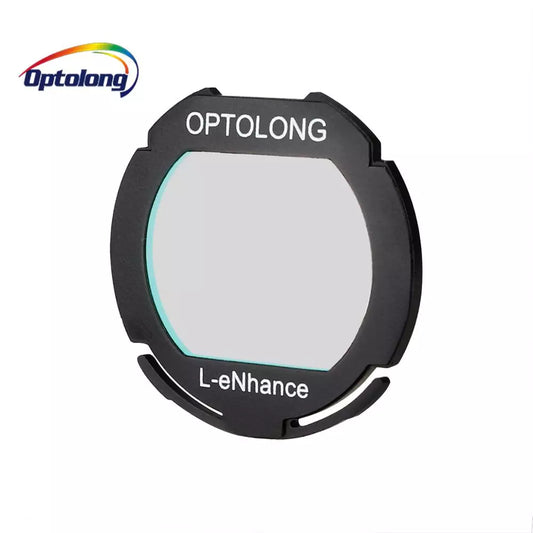
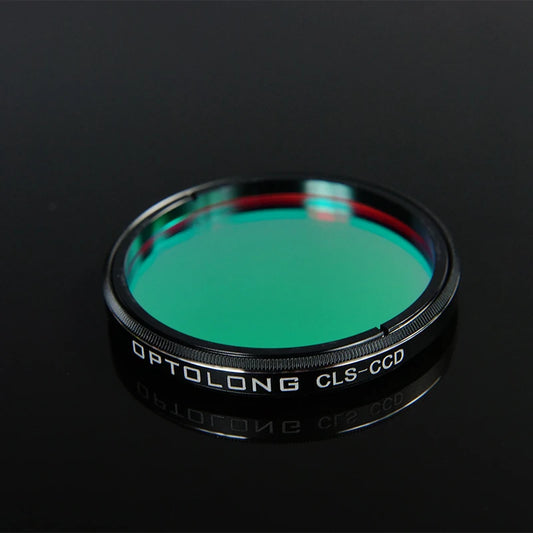
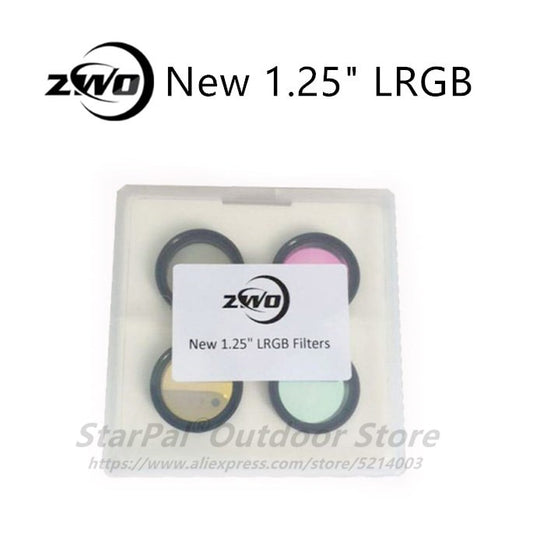
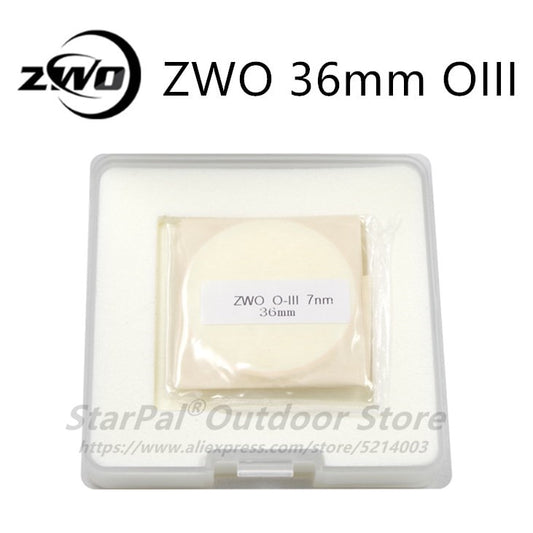
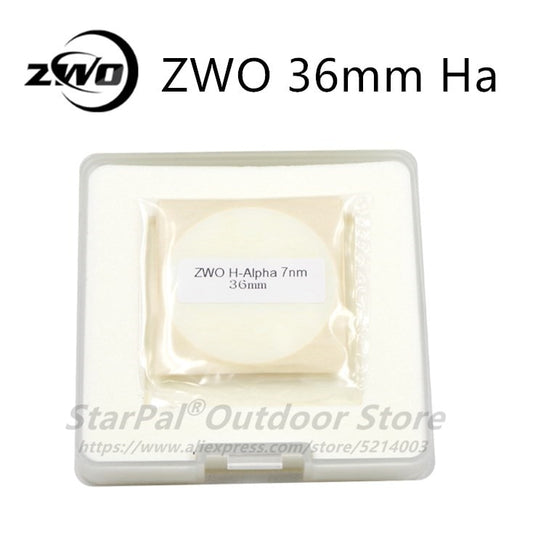
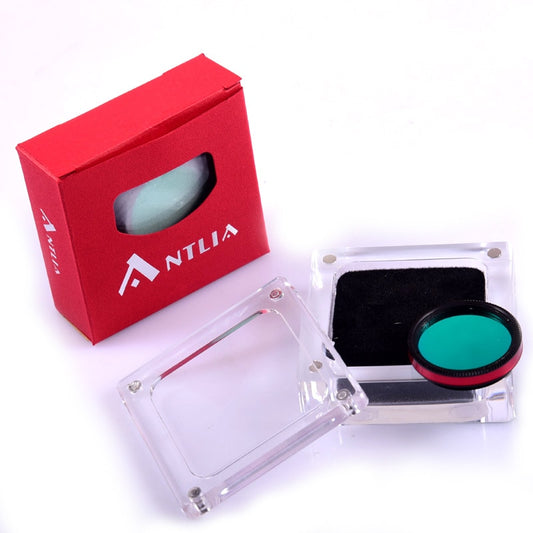
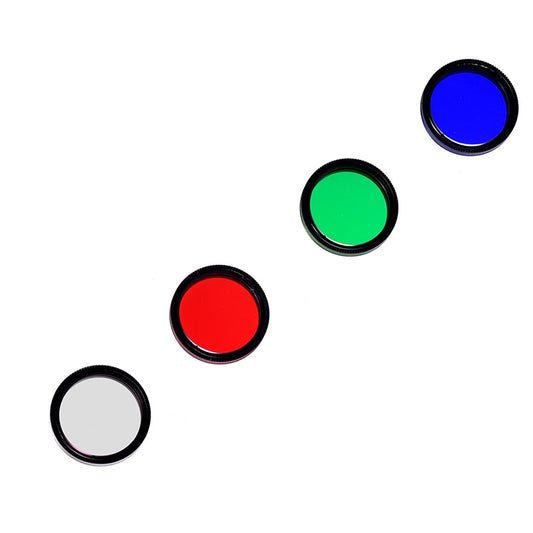
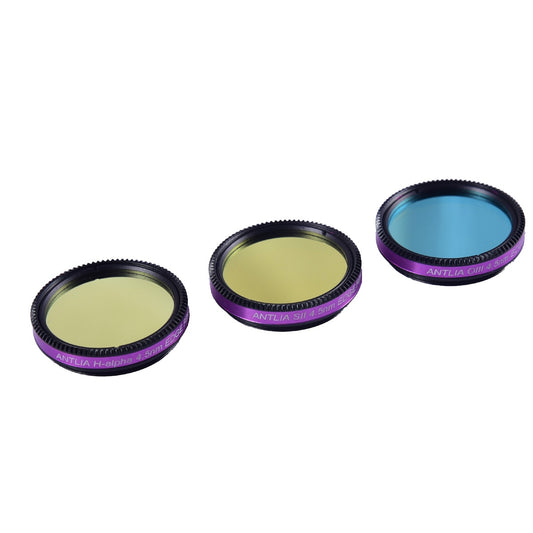
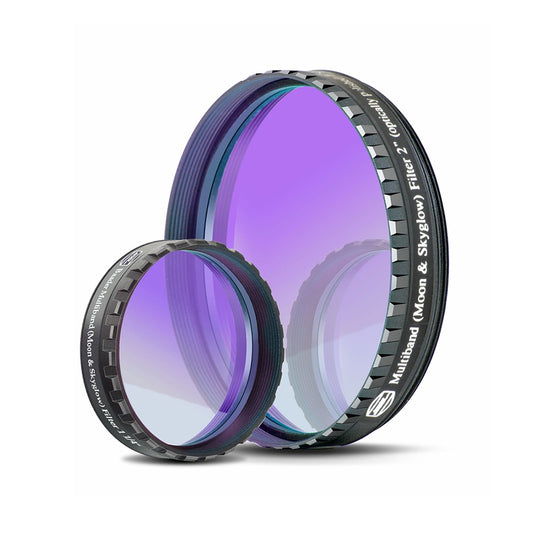
Before attaching a filter, you need to determine which type of filter you need. There are various types of filters available, each designed to enhance specific features or to suppress light pollution. For example, if you’re observing the moon or planets, you might want to use a color filter that will enhance certain features, such as the reds and blues in Jupiter's atmosphere. If you're looking to observe deep-sky objects like galaxies or nebulae, a narrowband filter that suppresses light pollution and enhances contrast may be the best choice. Once you have determined which filter you need, make sure it is compatible with your telescope and camera.
Step 2: Remove the Eyepiece
Most telescopes come with a standard eyepiece that you can remove to attach filters. To remove the eyepiece, unscrew it from the telescope's focuser. Some telescopes have a locking mechanism that you need to release before you can unscrew the eyepiece. Make sure to hold the telescope steady to prevent any accidental movements that may disrupt your alignment.
Step 3: Thread the Filter
Once you have removed the eyepiece, you can now attach the filter. Place the filter over the opening where the eyepiece was removed and carefully thread it into place. Be sure to thread it in a clockwise direction to avoid cross-threading, which could damage the threads on the filter or the telescope.
Step 4: Re-attach the Eyepiece
After the filter is securely attached, you can now re-attach the eyepiece. Carefully screw it back into place and make sure it is snug but not too tight. You don't want to overtighten the eyepiece, as this could damage the threads or even crack the lens.
Step 5: Test the Filter
With the filter attached and the eyepiece in place, you can now test your telescope to ensure everything is working correctly. Point your telescope at a bright star or planet and observe the object through the eyepiece. If everything looks clear and the image is bright and in focus, then your filter is properly attached and ready to use. If the image is blurry or distorted, make sure the filter is correctly threaded and the eyepiece is not overtightened.
In summary, attaching a filter to your telescope is a relatively simple process, but it is essential to take your time and be careful not to damage your equipment. Make sure to choose the right filter for your specific needs and telescope/camera combination. Also, take the time to carefully thread the filter in place and avoid overtightening the eyepiece. With these steps in mind, you can start enjoying the beauty of the night sky with enhanced clarity and detail.
More Light Pollution and Filters Topics:
- What Filters do I need for Astrophotography
- Top 10 Best Filters for Astrophotography
- Hydrogen Alpha Filter
- Optolong l-Pro vs l-Enhance vs l-Extreme
- Planetary Filters
- Solar Telescope Filters
- Best Filter for Galaxies
- ND Filter for Astrophotography
- Light Pollution Filters for Telescope
- Light Pollution Filter for DSLR
- Astrophotography Filter Drawer
- What Filter to use for Astrophotography
- Best Light Pollution Filter for DSLR Astrophotography
- How does Light Pollution affect the visibility of Stars
- Light Pollution Definition
- Do Light Pollution Filters work
- Light Pollution Filter Astrophotography