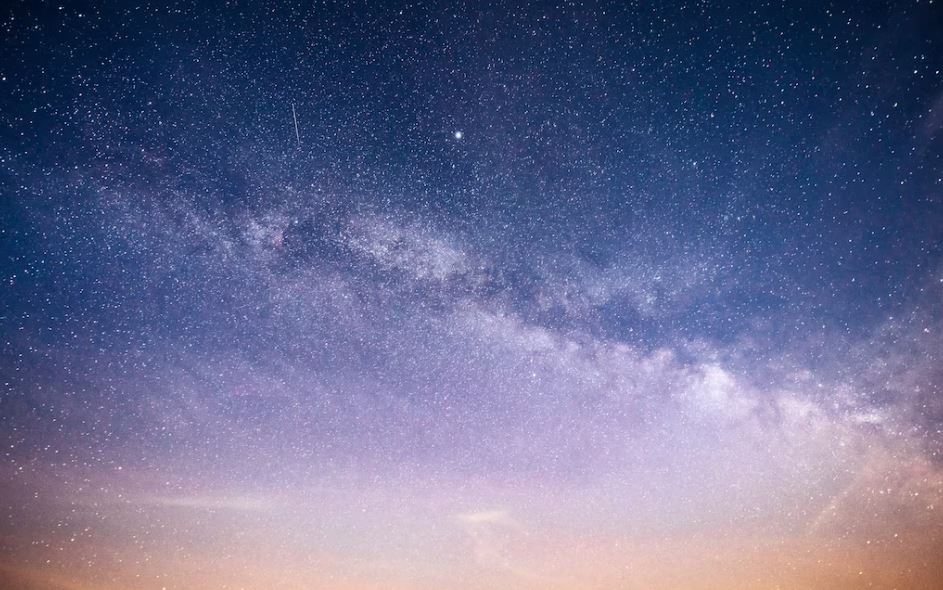
Milky Way Astrophotography Tips
Astrophotography has become a popular genre among photographers, with Milky Way photography being one of the most sought-after styles. Capturing the Milky Way in all its glory can be a daunting task, but with the right techniques and equipment, it is possible to create stunning images. In this article, we will discuss some tips for Milky Way astrophotography.
Location
The first step in capturing a great Milky Way photograph is choosing the right location. You need to find a place that has minimal light pollution, such as a rural area or a national park. This will help you capture the Milky Way without any light pollution interfering with the shot. Use apps like Dark Sky Finder or Photopills to help you find a suitable location.
Timing
Timing is crucial when it comes to Milky Way photography. You need to choose a time when the Milky Way is visible in the sky. This usually occurs from late spring to early autumn. You also need to choose a time when the moon is not too bright, as it can wash out the stars. The best time to shoot the Milky Way is during a new moon or a crescent moon.
Equipment
To capture the Milky Way, you need the right equipment. A camera with a full-frame sensor is ideal for capturing the night sky, as it has a higher ISO range and better low-light performance. You will also need a wide-angle lens, preferably with an aperture of f/2.8 or wider. A sturdy tripod is also necessary to keep your camera steady during long exposures.
Settings
The camera settings are crucial in Milky Way photography. Set your camera to manual mode and use a high ISO, usually between 1600-3200, to capture more light. Your aperture should be set as wide as possible, typically f/2.8 or wider. Use a shutter speed of 20-30 seconds to capture the stars without any motion blur. Experiment with different settings to find the perfect balance of exposure.
Focus
Achieving sharp focus is critical in Milky Way photography. Switch your lens to manual focus and use the live view mode to focus on a bright star or planet. Once you have achieved focus, lock the focus ring to prevent it from moving accidentally during the shoot.
Composition
Composition is important in any photograph, including Milky Way photography. Use the rule of thirds to compose your shot, placing the Milky Way off-center. Look for foreground elements like trees, mountains, or lakes to add interest to your shot. Use the leading lines to guide the viewer's eye towards the Milky Way.
Editing
Editing is the final step in creating a stunning Milky Way photograph. Use software like Adobe Lightroom or Photoshop to adjust the exposure, contrast, and color temperature of your shot. Be careful not to over-edit your image, as it can result in an unrealistic-looking image.
Aspect of Milky Way Astrophotography
The most captivating aspect of the best Milky Way astrophotography tips lies in their ability to bridge the gap between the vastness of the cosmos and the creative potential of the human eye. These tips not only guide photographers in capturing the intricate beauty of our galaxy but also encourage a profound connection to the universe. By mastering techniques that reveal the Milky Way's ethereal glow, photographers become both witnesses and interpreters of the universe's grand narrative, transforming distant stars into tangible stories that inspire awe and ignite curiosity. These tips not only empower photographers to master their craft but also remind us that every image of the Milky Way is a unique perspective on the same cosmic wonder that has sparked human imagination since time immemorial.
Conclusion
Capturing the Milky Way in all its glory is a challenging but rewarding experience. With the right equipment and techniques, it is possible to create stunning images. Remember to choose a suitable location with minimal light pollution, choose the right time, and use the appropriate equipment and camera settings. Focus on achieving sharp focus and composition to create a well-balanced shot. Finally, editing your image can enhance its overall appearance, but don't overdo it. Follow these tips, and you'll be well on your way to capturing beautiful Milky Way photographs.
More Astrophotography Topics:
- Astrophotography Equipment for Beginners
- Astrophotography for Beginners
- Best Camera for Astrophotography
- Best Telescope for Astrophotography
- Best Telescope for Deep Space Astrophotography
- What Equipment Do I Need for Astrophotography
- Astrophotography Camera Settings
- Astrophotography Image Processing
- Night Sky Astrophotography Tips
- Beginner Deep Sky Astrophotography Targets
- Astrophotography Setup for Beginners
- Astrophotography Tips for Beginners
- Astrophotography for Dummies
- Astrophotography Image Editing Software
- Astrophotography Focusing Techniques
- Best Astrophotography Star Tracking Mount
- Best Beginner Astrophotography Targets
- Best Image Stacking Software for Astrophotography
- Best Narrowband Astrophotography Targets
- Astrophotography Targets by Month
- Good Widefield Astrophotography Targets
- GIMP Astrophotography Plugins
- Flat Frames Astrophotography
- Bias Frames Astrophotography
- Dark Frames Astrophotography
- Calibration Frames Astrophotography
- Dithering Astrophotography
- What is Astrophotography
- Starnet Astrophotography
- Star Tracker Astrophotography
- Best Astrophotography Books
- Astrophotography Setups Under $2000
- Best Phone Tripod for Astrophotography
- Best ISO for Long Exposure Astrophotography
- Removing Brown Tones Astrophotography Images
- Best Focal Length for Deep Space Astrophotography
- Best Guide Scope for Astrophotography
- Do I Need a Guide Scope for Astrophotography
- Astrophotography Targets by Focal Length
- Astrophotography Binning
- Astrophotography Exposure Time
- Bortle Scale
- Tripod Position

