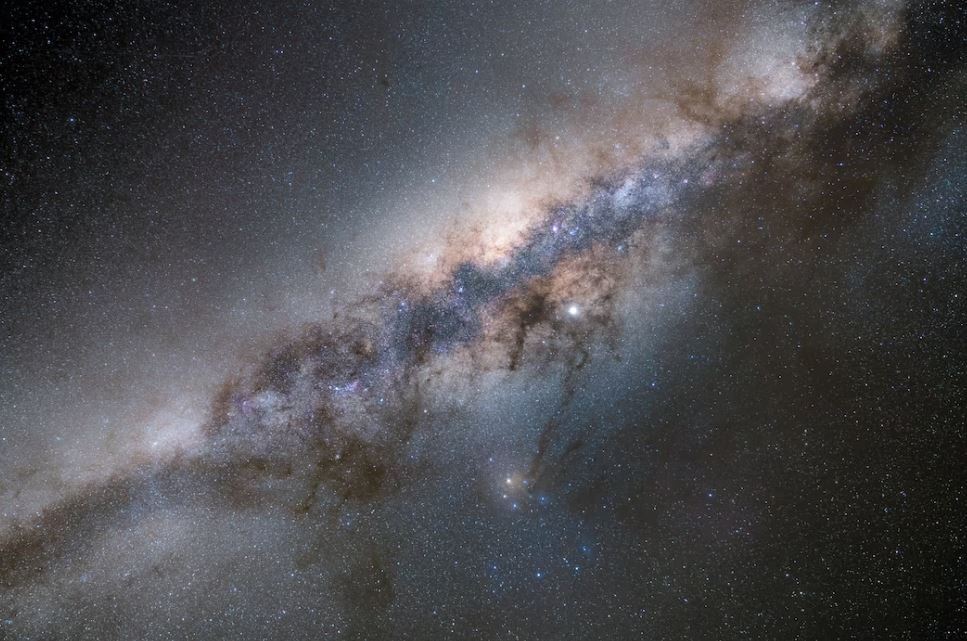
Astrophotography is a complex and intricate process that involves capturing images of the night sky and processing them into stunning works of art. Image processing is an important part of astrophotography as it allows you to bring out the details and colors that may not be visible in the original image. In this blog post, we will discuss the basics of astrophotography image processing and provide some tips on how to achieve great results.
Start with a Good Image
The first step to achieving great astrophotography image processing is to start with a good image. This means you need to take the time to set up your camera and capture a high-quality image of the night sky. You can use various techniques like long exposure, stacking, and tracking to get a good image.
Edit in RAW Format
When editing astrophotography images, it's essential to work with the RAW format. RAW files capture the most data and provide you with more flexibility when editing. It's best to use a RAW image editor like Adobe Lightroom or Photoshop to process your astrophotography images.
Correct for Light Pollution
Light pollution is a significant problem for astrophotographers, especially those living in urban areas. You can use various techniques to reduce light pollution, such as using a light pollution filter or shooting in a dark location. However, it's impossible to eliminate light pollution entirely. Therefore, you need to correct it during image processing. You can use tools like the Gradient Tool in Photoshop or Lightroom to remove light pollution from your images.
Correct for Noise
Astrophotography images tend to have a lot of noise, especially in the dark areas. You can use noise reduction tools in Lightroom or Photoshop to remove noise from your images. However, be careful not to overdo it, as too much noise reduction can result in a loss of detail.
Adjust White Balance
The color of your astrophotography images can be affected by various factors like light pollution, camera settings, and lens quality. You can adjust the white balance of your images using the Temperature and Tint sliders in Lightroom or Photoshop. This will help you get accurate and natural-looking colors in your images.
Adjust Exposure and Contrast
Adjusting the exposure and contrast of your astrophotography images can help bring out the details and make the image pop. You can use the Exposure and Contrast sliders in Lightroom or Photoshop to make these adjustments.
Sharpen Your Images
Sharpening your astrophotography images can help bring out the details and make the image appear more crisp. You can use the Sharpening tool in Lightroom or Photoshop to sharpen your images. Be careful not to overdo it, as too much sharpening can result in visible artifacts.
Use Creative Techniques
Astrophotography image processing is not just about correcting for problems; it's also about using creative techniques to make your images stand out. You can use various techniques like adding saturation, using graduated filters, and adding stars to your images to make them more interesting.
Conclusion
Astrophotography image processing is an essential part of the astrophotography process. With the tips mentioned in this blog post, you can achieve great results with your astrophotography images. Remember to start with a good image, work in RAW format, correct for light pollution and noise, adjust white balance, exposure, and contrast, sharpen your images, and use creative techniques to make your images stand out. Happy shooting!
More Astrophotography Topics:
- Astrophotography Equipment for Beginners
- Astrophotography for Beginners
- Best Camera for Astrophotography
- Best Telescope for Astrophotography
- Best Telescope for Deep Space Astrophotography
- What Equipment Do I Need for Astrophotography
- Astrophotography Camera Settings
- Night Sky Astrophotography Tips
- Milky Way Astrophotography Tips
- Beginner Deep Sky Astrophotography Targets
- Astrophotography Setup for Beginners
- Astrophotography Tips for Beginners
- Astrophotography for Dummies
- Astrophotography Image Editing Software
- Astrophotography Focusing Techniques
- Best Astrophotography Star Tracking Mount
- Best Beginner Astrophotography Targets
- Best Image Stacking Software for Astrophotography
- Best Narrowband Astrophotography Targets
- Astrophotography Targets by Month
- Good Widefield Astrophotography Targets
- GIMP Astrophotography Plugins
- Flat Frames Astrophotography
- Bias Frames Astrophotography
- Dark Frames Astrophotography
- Calibration Frames Astrophotography
- Dithering Astrophotography
- What is Astrophotography
- Starnet Astrophotography
- Star Tracker Astrophotography
- Best Astrophotography Books
- Astrophotography Setups Under $2000
- Best Phone Tripod for Astrophotography
- Best ISO for Long Exposure Astrophotography
- Removing Brown Tones Astrophotography Images
- Best Focal Length for Deep Space Astrophotography
- Best Guide Scope for Astrophotography
- Do I Need a Guide Scope for Astrophotography
- Astrophotography Targets by Focal Length
- Astrophotography Binning
- Astrophotography Exposure Time
- Bortle Scale
- Tripod Position

