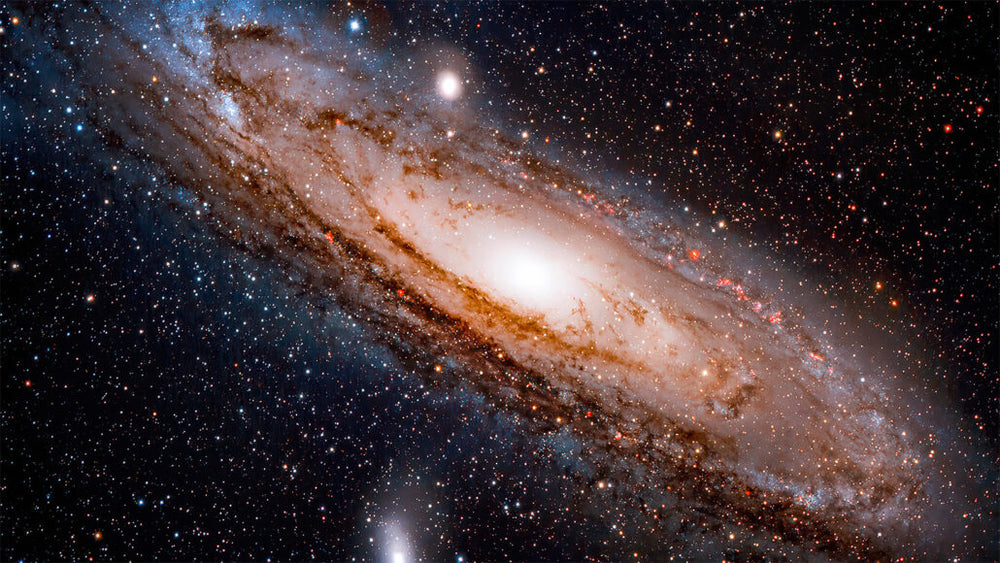
Astrophotography, the art of capturing stunning images of the night sky, can seem like an intimidating and complex field. But with the right equipment and basic techniques, even beginners can take incredible photos of the stars. In this guide, we'll walk you through the basics of astrophotography and help you take your first steps into this exciting world.
What You'll Need
The first step in astrophotography is acquiring the right equipment. While you don't need the most expensive or advanced gear to get started, there are a few essentials you'll need to capture great photos of the night sky.
Camera: You'll need a camera with manual controls, preferably a DSLR or mirrorless camera. These types of cameras allow you to adjust the shutter speed, aperture, and ISO manually, which is crucial for astrophotography.
Telescope: While you can take astrophotography photos without a telescope, having one greatly enhances your capabilities. Look for a telescope with a long focal length and a wide aperture, which will allow you to capture more detail and light from distant objects.
Tripod: A sturdy tripod is essential for astrophotography. You'll want to keep your camera steady and minimize any movement that could blur your images.
Basic Techniques
Once you have your equipment, it's time to start learning some basic astrophotography techniques. Here are a few tips to help you get started:
Find a dark location: Light pollution can greatly impact the quality of your images, so try to find a location away from city lights.
Use manual focus: Autofocus can struggle in low-light conditions, so it's best to use manual focus to ensure your images are sharp.
Use a wide aperture: A wider aperture allows more light to enter the camera, which is crucial for capturing detailed images of the night sky.
Use a slow shutter speed: A slower shutter speed allows more light to enter the camera, which is especially important in low-light conditions.
Adjust the ISO: Increasing the ISO allows you to capture more light, but be careful not to increase it too much, as this can result in grainy images.
Taking Your First Photos
Now that you have your equipment and basic techniques down, it's time to take your first photos of the night sky. Here are some steps to help you get started:
Set up your equipment: Mount your camera on a tripod and attach it to your telescope (if using one). Make sure everything is securely fastened.
Choose your subject: Decide what you want to photograph. The moon, planets, and stars are all popular choices for astrophotography.
Adjust your settings: Use manual controls to adjust your shutter speed, aperture, and ISO. Try different settings to see what works best for your subject and location.
Take the photo: Once you've set up your equipment and adjusted your settings, it's time to take the photo. Use a remote or timed shutter release to minimize movement and capture a sharp image.
Review your photo: After taking the photo, review it on your camera's display screen. Adjust your settings as necessary to improve your image.
Conclusion
Astrophotography may seem like a daunting field, but with the right equipment and basic techniques, anyone can take stunning photos of the night sky. By following the tips outlined in this guide, you can take your first steps into this exciting world and capture the beauty of the cosmos like never before.
More Astrophotography for Beginners Topics:
- Astrophotography Equipment for Beginners
- Best Refractor Telescopes Beginners
- Best Telescopes for Beginners
- Beginner Deep Sky Astrophotography Targets
- Astrophotography Setup for Beginners
- Astrophotography Tips for Beginners
- Astrophotography for Dummies
- Best Beginner Astrophotography Targets
More Astrophotography Topics:
- How to find the North Star?
- Best Camera for Astrophotography
- Best Telescope for Astrophotography
- Best Telescope for Deep Space Astrophotography
- What Equipment Do I Need for Astrophotography
- Astrophotography Camera Settings
- Astrophotography Image Processing
- Night Sky Astrophotography Tips
- Milky Way Astrophotography Tips
- Astrophotography Image Editing Software
- Astrophotography Focusing Techniques
- Best Astrophotography Star Tracking Mount
- Best Image Stacking Software for Astrophotography
- Best Narrowband Astrophotography Targets
- Astrophotography Targets by Month
- Good Widefield Astrophotography Targets
- GIMP Astrophotography Plugins
- Flat Frames Astrophotography
- Bias Frames Astrophotography
- Dark Frames Astrophotography
- Calibration Frames Astrophotography
- Dithering Astrophotography
- What is Astrophotography
- Starnet Astrophotography
- Star Tracker Astrophotography
- Best Astrophotography Books
- Astrophotography Setups Under $2000
- Best Phone Tripod for Astrophotography
- Best ISO for Long Exposure Astrophotography
- Removing Brown Tones Astrophotography Images
- Best Focal Length for Deep Space Astrophotography
- Best Guide Scope for Astrophotography
- Do I Need a Guide Scope for Astrophotography
- Astrophotography Targets by Focal Length
- Astrophotography Binning
- Astrophotography Exposure Time
- Bortle Scale
- Tripod Position

