How to Photograph Planets
Capturing stunning images of planets is a dream for many amateur astronomers and astrophotographers. However, getting that perfect shot can be challenging, especially for beginners. In this article, we'll provide a comprehensive guide on how to photograph planets, covering everything from equipment and settings to techniques and tips for getting the best results.
Choosing the right equipment
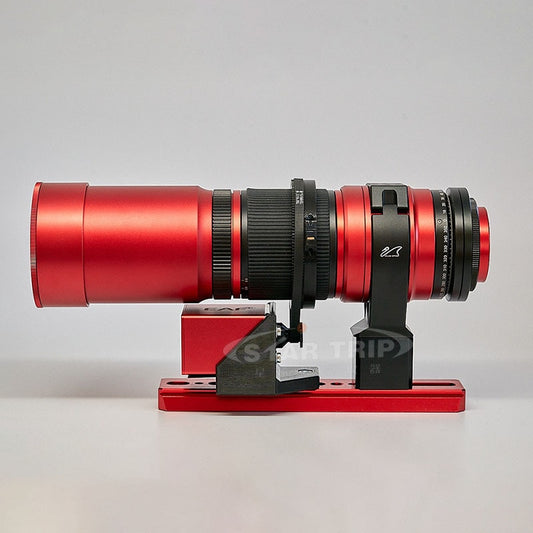
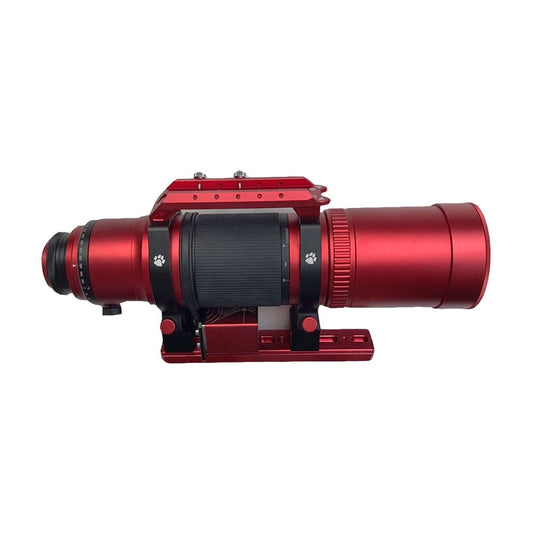
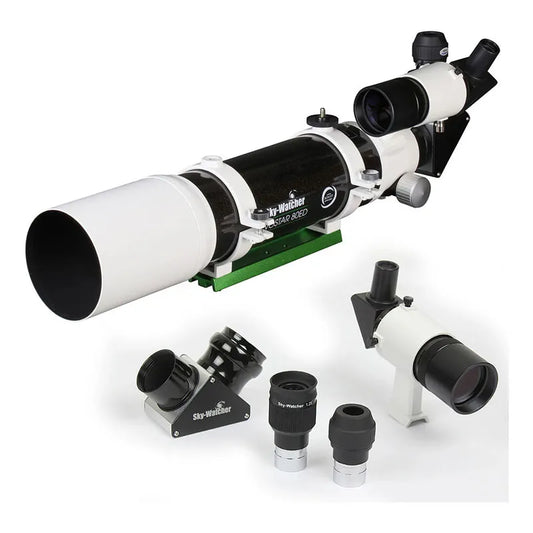
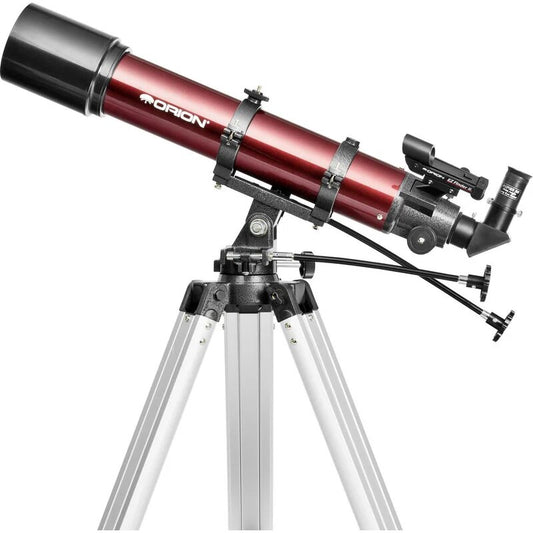
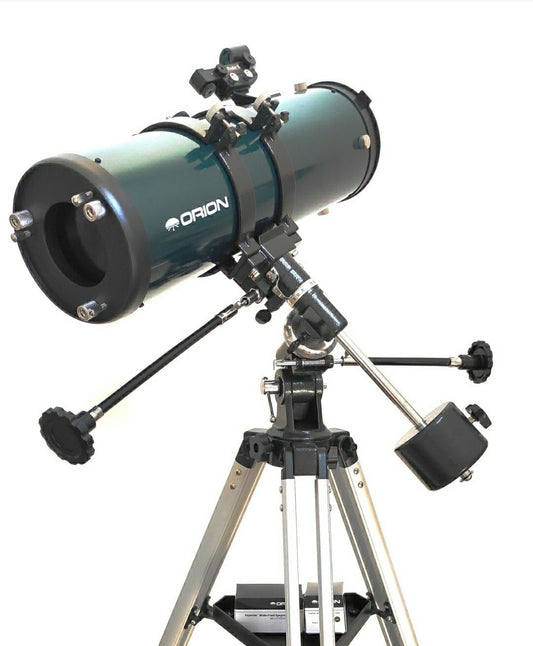
To photograph planets, you'll need a telescope with a high magnification capability and a camera that can be attached to the telescope. The camera should ideally have a high-resolution sensor and the ability to shoot in RAW format for maximum flexibility in post-processing.
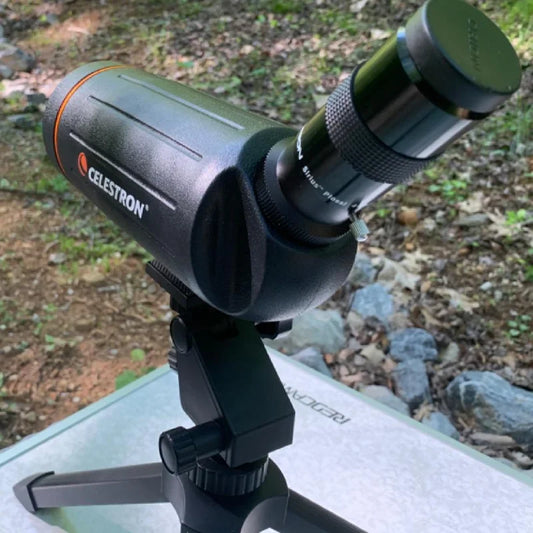
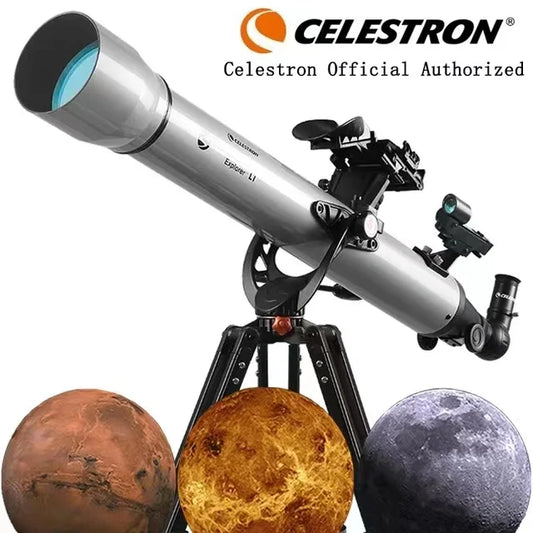
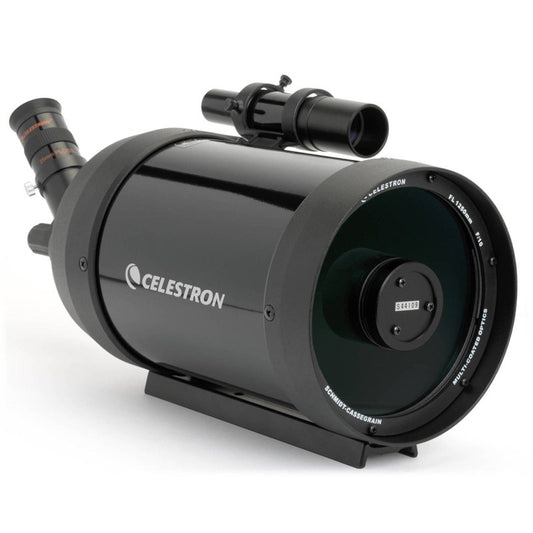
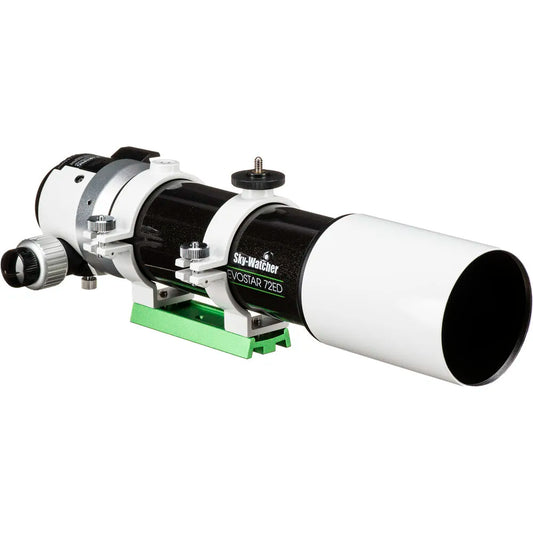
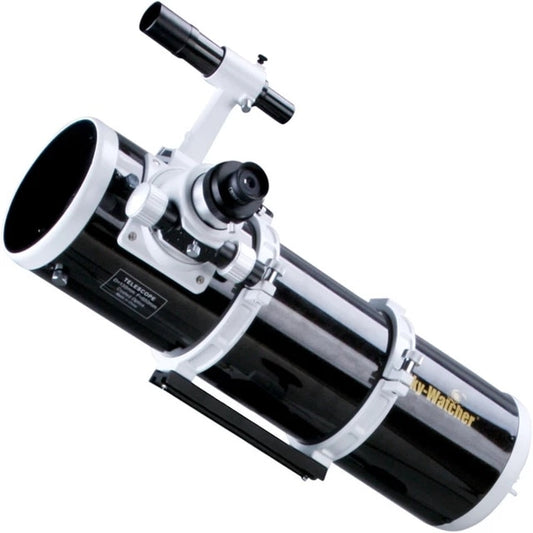
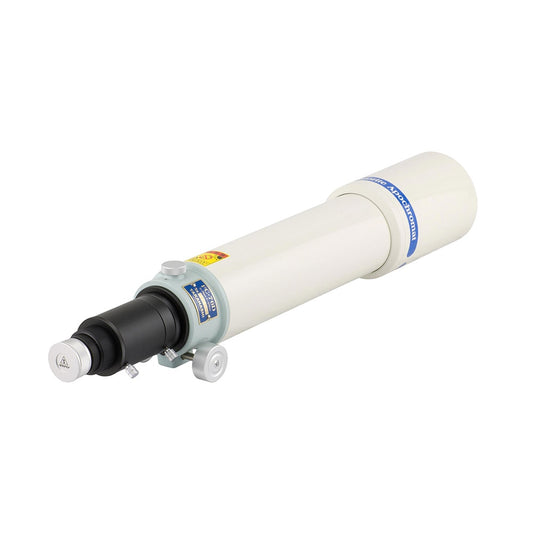
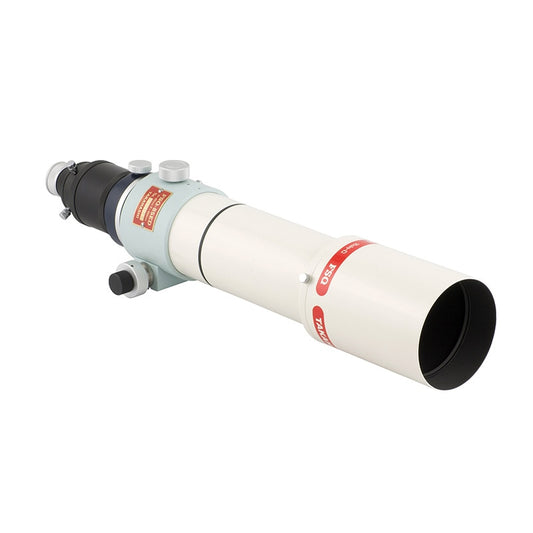
Selecting the Right Telescope
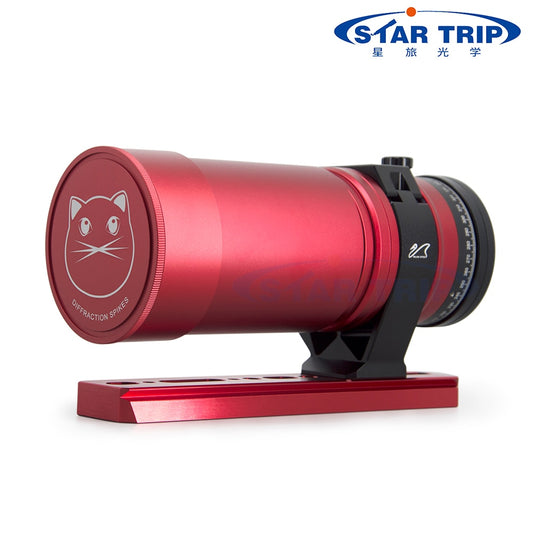
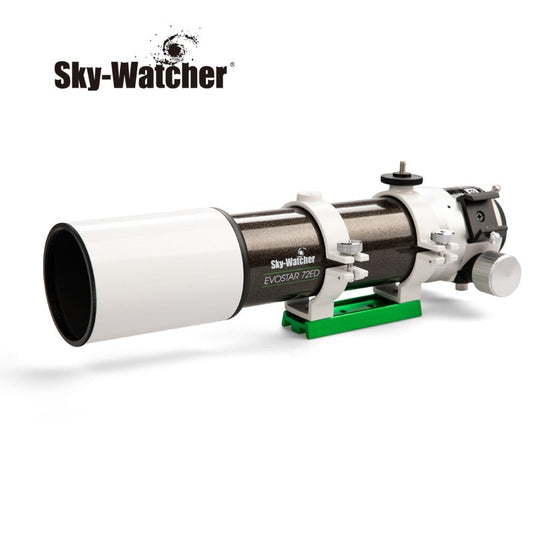
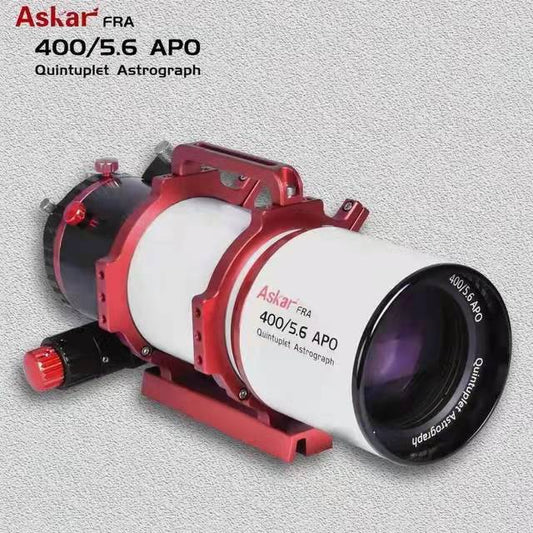
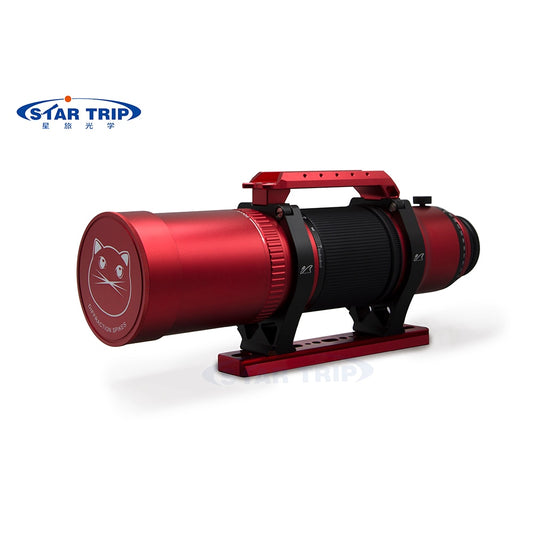
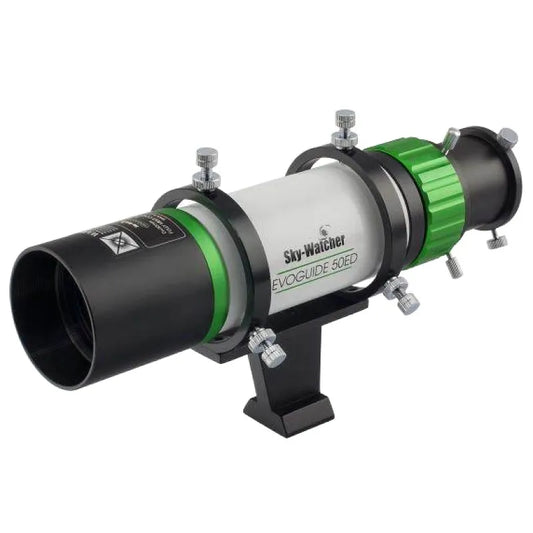
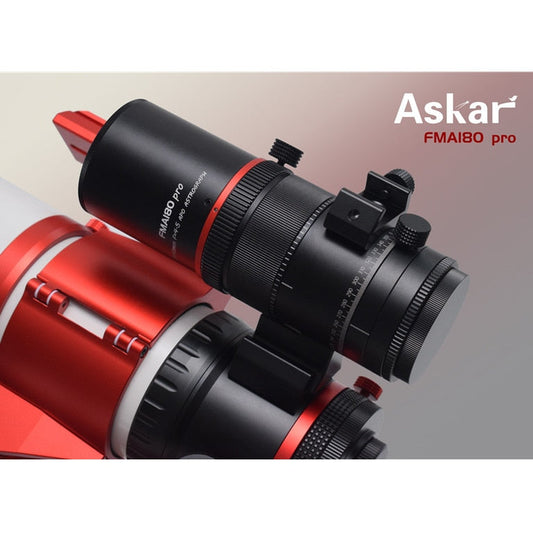
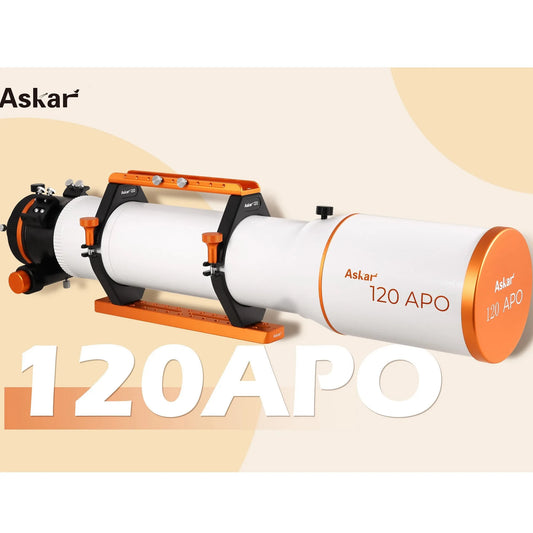
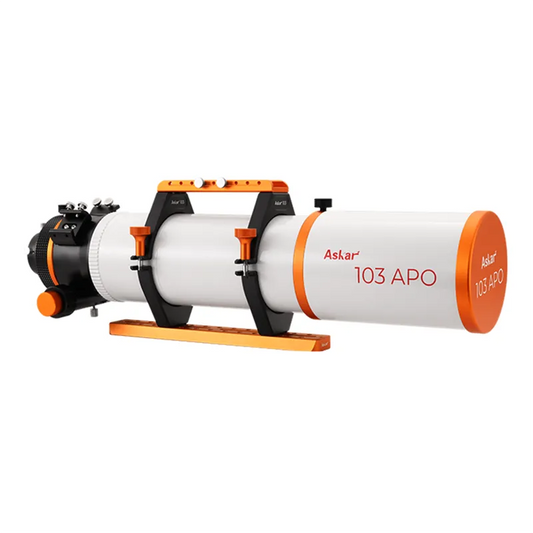
Choosing the appropriate telescope is crucial for planetary photography. Opt for a telescope with a larger aperture, as it gathers more light and enhances image clarity. Refractor and catadioptric telescopes are popular choices due to their ability to produce crisp images.
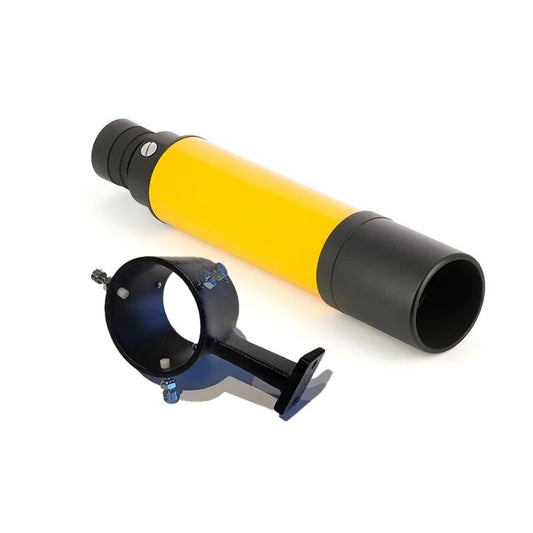
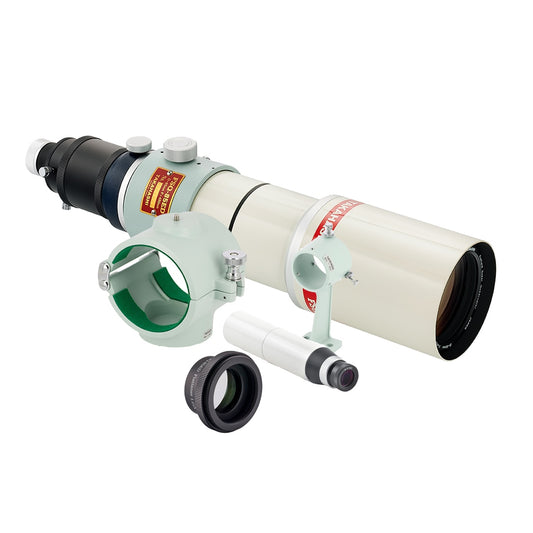
Gathering Necessary Equipment
Aside from a telescope, you'll need a few other pieces of equipment to capture planets effectively:
- Camera: A DSLR or mirrorless camera with manual settings will allow you to control exposure and focus.
- Adapter: Obtain a T-ring adapter compatible with your camera to connect it to the telescope.
- Barlow Lens: This accessory increases the telescope's focal length, resulting in greater magnification.
Understanding Camera Settings
Mastering your camera settings is fundamental to planet photography:
- ISO: Use a low ISO (e.g., 100-400) to reduce noise in your images.
- Shutter Speed: Opt for a faster shutter speed (1/100 seconds or faster) to avoid blurring.
- Aperture: Set your aperture to a medium value (f/8 to f/11) for optimal sharpness.
Achieving Precise Focusing
Accurate focusing is paramount when photographing planets:
- Live View: Utilize your camera's live view feature for real-time focusing.
- Magnification: Zoom in on a bright star or planet to fine-tune focus manually.
- Focus Peaking: Some cameras offer focus peaking, highlighting in-focus areas.
Tracking the Planets
Planets move across the night sky, requiring tracking for clear shots:
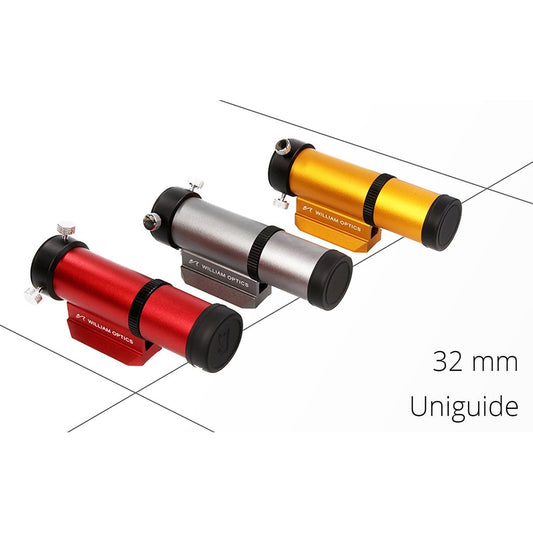
- Motorized Mount: A motorized equatorial mount compensates for Earth's rotation.
- Guiding: Autoguiding systems make minute adjustments to maintain planet alignment.
Choosing the Right Time
Timing is crucial for successful planet photography:
- Opposition: Planets are closest to Earth during opposition, offering clearer views.
- Steady Atmosphere: Shoot when the atmosphere is steady, usually during calm, clear nights.
- Astronomical Twilight: Capture planets when the sky is dark but not completely black.
Post-Processing Techniques
Enhance your planetary images during post-processing:
- Stacking: Combine multiple frames to reduce noise and enhance details.
- Color Adjustment: Adjust color balance to reveal true planet hues.
- Sharpening: Apply selective sharpening to bring out finer details.
Staying Patient and Persistent
Planet photography demands patience and practice:
- Weather Conditions: Be prepared to wait for clear and stable atmospheric conditions.
- Experimentation: Don't hesitate to experiment with different settings and techniques.
- Continuous Learning: Keep learning from your shots and adapting your approach.
Preparing for the shoot
Before you start photographing planets, it's important to choose the right time and location. Look for a clear night with good seeing conditions, and choose a location that is free from light pollution. It's also a good idea to familiarize yourself with the night sky and the position of the planet you want to photograph.
Setting up your equipment
Once you've chosen your equipment and location, it's time to set up your telescope and camera. Mount the camera to the telescope using a T-ring and adapter, and focus the telescope on the planet you want to photograph. It's also important to make sure the telescope is properly aligned and balanced.
Adjusting camera settings
When photographing planets, you'll need to adjust your camera settings to achieve the best results. Use a high ISO setting to capture as much light as possible, and adjust the shutter speed and aperture to achieve the desired exposure. It's also important to use manual focus and to set the white balance correctly.
Capturing the image
To capture the image, use a remote shutter release or timer to minimize camera shake. Take several images at different exposures and focal lengths, and experiment with different settings to see what works best for your equipment and conditions.
Post-processing the image
Once you've captured your images, it's time to process them using software such as Adobe Photoshop or Lightroom. This can involve adjusting the brightness, contrast, and color balance of the image, as well as sharpening and reducing noise.
Tips for getting the best results
To get the best results when photographing planets, it's important to be patient and persistent. Practice makes perfect, so keep experimenting with different settings and techniques until you achieve the desired results. It's also important to use the right accessories, such as a sturdy tripod and a dew shield, to minimize vibrations and moisture on your equipment.
Planetary photography techniques
To achieve the best results when photographing planets, there are several techniques that you can use. One popular technique is called "lucky imaging," which involves taking many short exposures in rapid succession and then stacking the sharpest frames together to create a final image. Another technique is called "video astronomy," which involves capturing a video of the planet and then extracting the sharpest frames from the footage.
Dealing with atmospheric turbulence
Atmospheric turbulence can be a major challenge when photographing planets, especially when using high magnification. To minimize the effects of turbulence, it's important to choose a location with good seeing conditions and to use a technique called "image stacking," which involves combining multiple images to create a final image with reduced noise and improved sharpness.
The importance of post-processing
Post-processing is an essential part of the planetary photography process, as it allows you to enhance the details and colors of your images. However, it's important to avoid over-processing your images, as this can result in unrealistic and unnatural looking results. Use a light touch when processing your images, and aim for a natural and realistic final product.
Advanced planetary photography techniques
For those looking to take their planetary photography to the next level, there are several advanced techniques that you can try. One technique is called "lunar occultation," which involves photographing a planet as it passes behind the moon, creating a stunning visual effect. Another technique is called "transit photography," which involves photographing a planet as it passes in front of the sun, creating a rare and unique image.
The role of planetary photography in astronomy
Planetary photography plays an important role in astronomy, providing scientists with valuable insights into the physical properties and characteristics of planets in our solar system and beyond. By studying the images and data captured by amateur astronomers and astrophotographers, scientists can learn more about the processes that shape our universe and the planets that call it home.
Conclusion
In conclusion, photographing planets can be a challenging but rewarding experience for amateur astronomers and astrophotographers. By choosing the right equipment, preparing for the shoot, adjusting camera settings, capturing the image, and post-processing the results, you can achieve stunning images of our solar system's planets. So grab your camera and telescope, head outside on a clear night, and start capturing the beauty of the night sky for yourself.
More about photography:
- How to Photograph The Moon
- How to Photograph The Milky Way
- How to Photograph Northen Lights
- How to Photograph Stars
- How to Photograph A Solar Eclipse
- How to Photograph Jupiter
- How to Photograph Star Trails